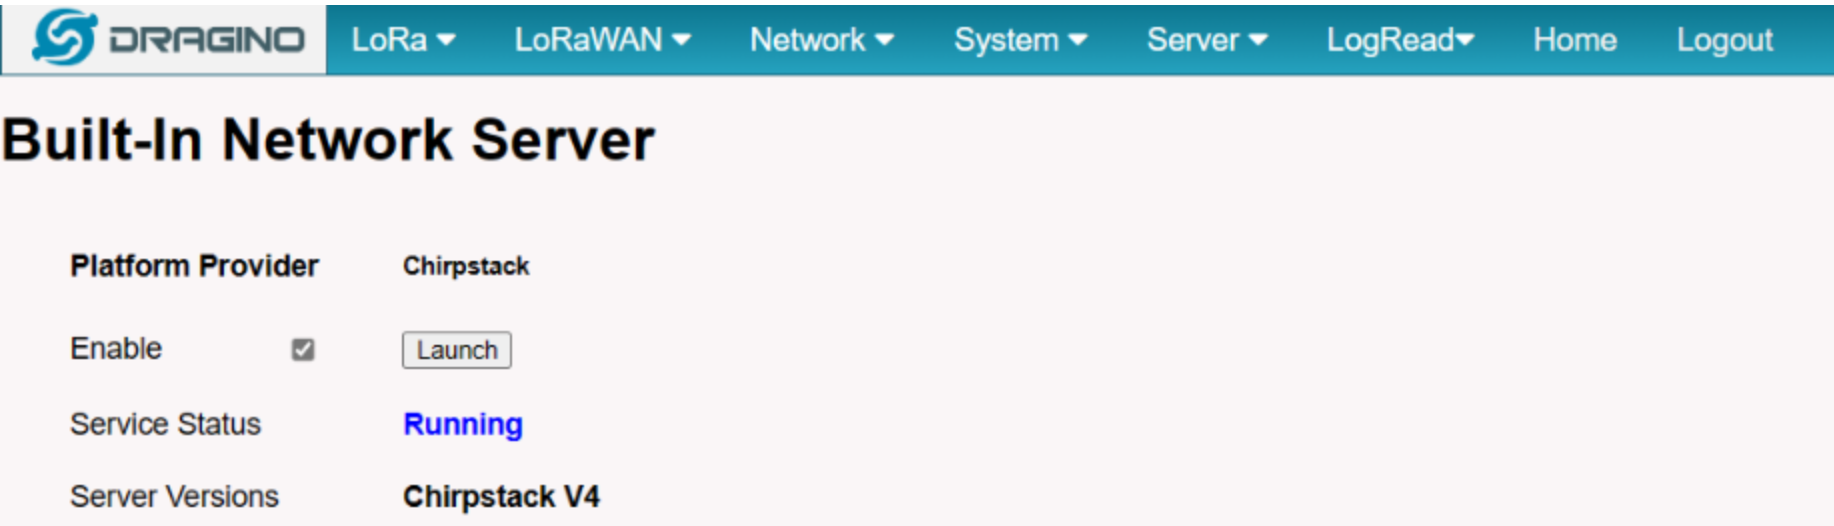
Launch Chirpstack from the gateway by going to 'Server' --> 'Network Server' and click the 'Launch' button.
| Troubleshooting Tip: If ChirpStack fails to launch try disabling (un-tick the enable flag and save) it and then enabling it again once disabled, or go to the 'Home' menu and then back to the 'Network Server' menu. If it still doesn't load in the browser window after this try clearing the cache and then disabling and enabling ChirpStack again. If connected to the gateway by Wi-Fi then ChirpStack may not open in the browser successfully. If this happen then go to the home screen and copy the Lan address: 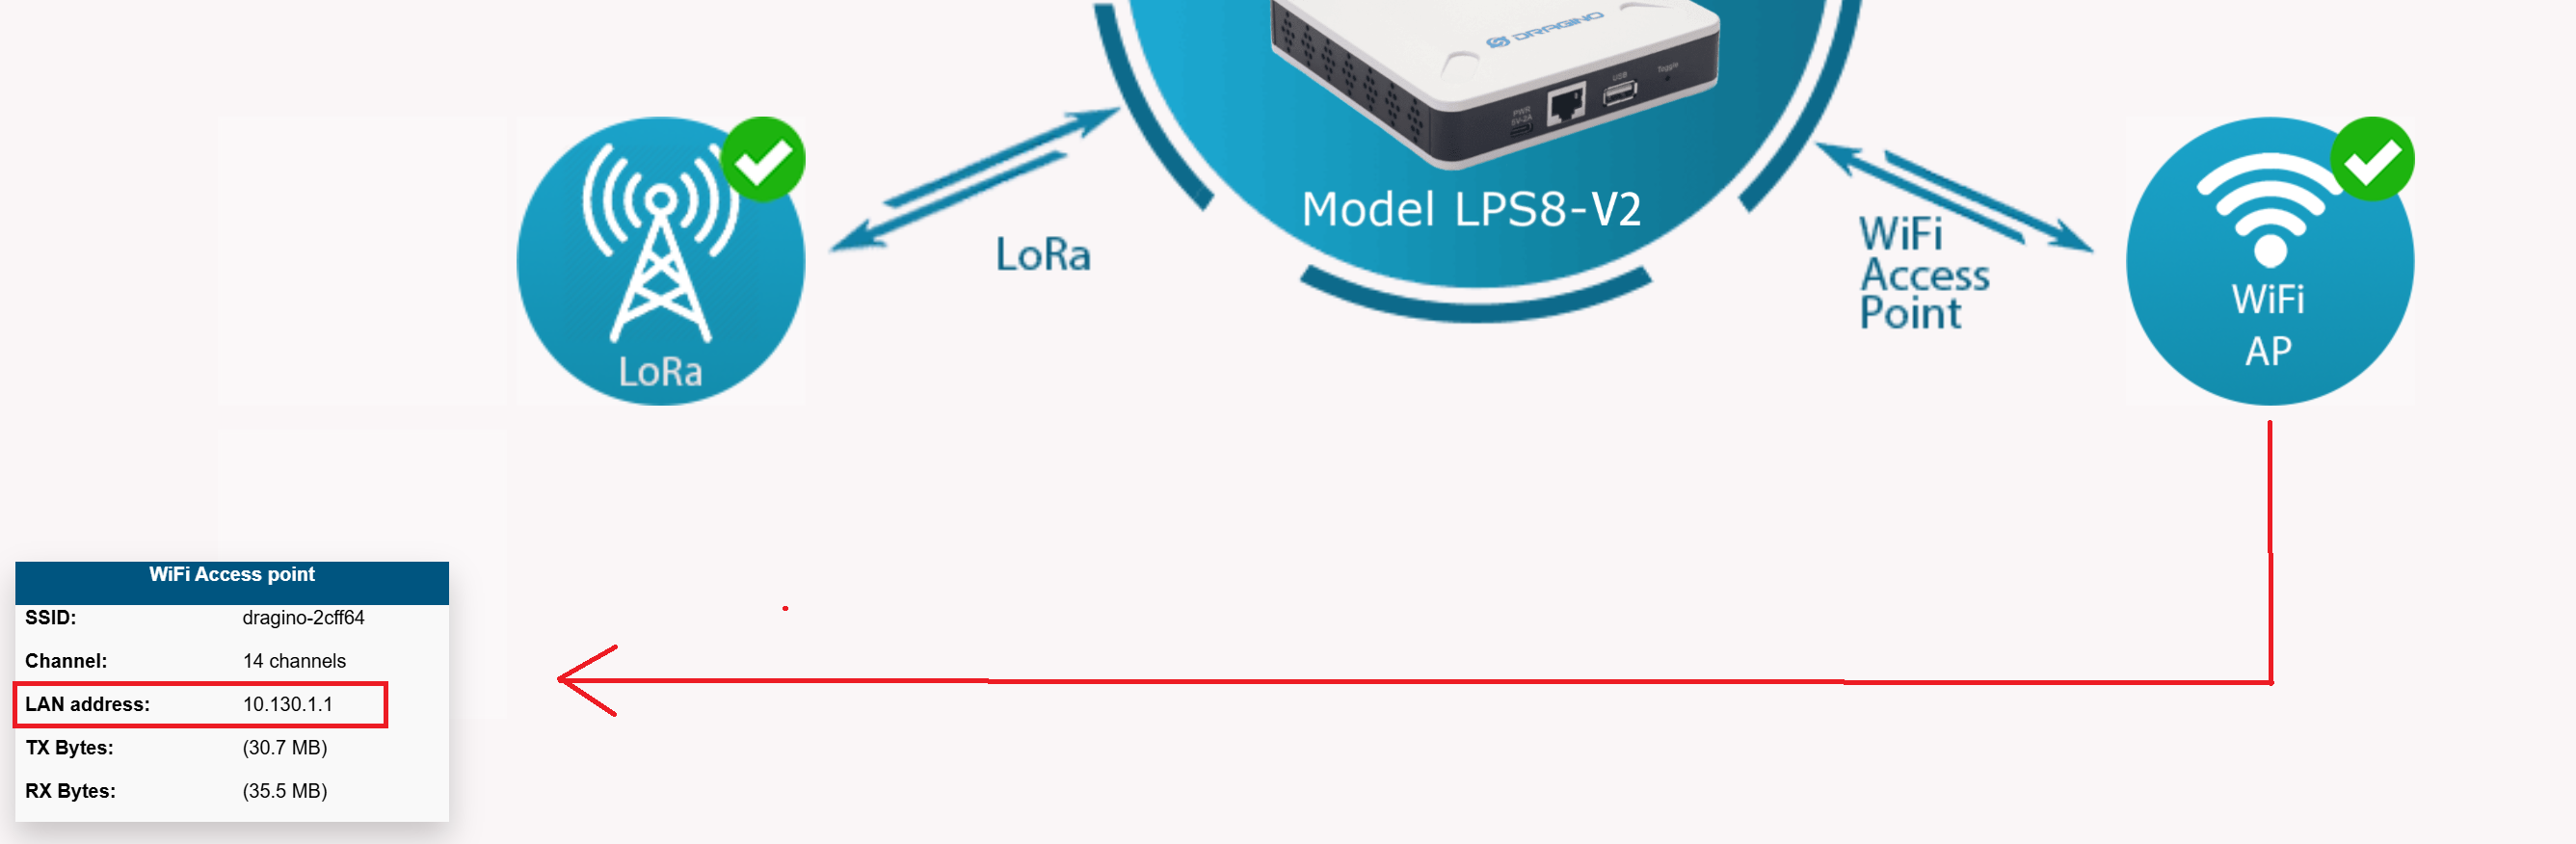 To open ChirpStack in a separate new browser window go to the Lan address on port 8080. For example: http://10.130.1.1:8080/ |
ChirpStack will open in another browser window. To login in use the Username admin with a password of admin.
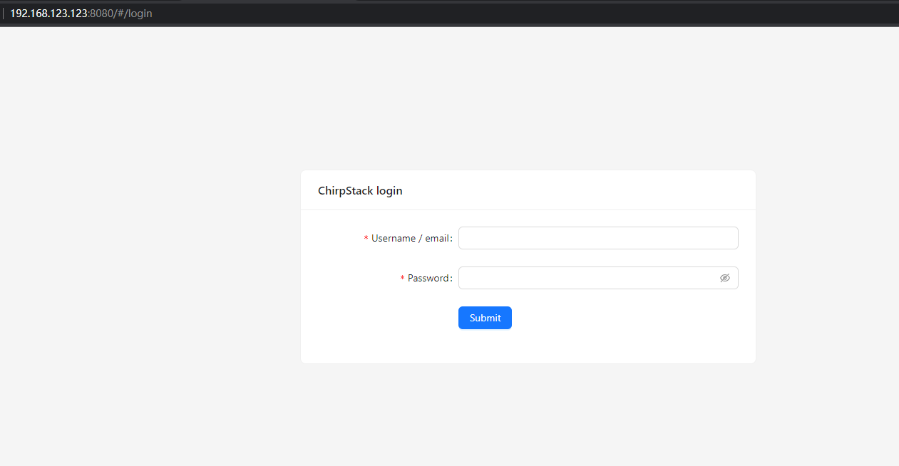
Once in the Chirpstack console perform the following steps:
Add Tenant
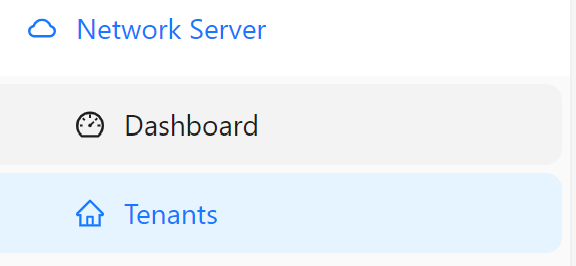
Under the Network Server menu click on 'Tenants'. On the right hand side of screen click the 'Add tenant' button.
Give your tenant a name, e.g. QTRACA, and a description
Allow the tenant to add gateways.
Press the 'Submit' button to save tenant.
Add Device Profile
Under the 'Tenant' menu click on 'Device Profiles'.
On the right hand side of screen click the 'Add device profile' button.
Give your profile a name, e.g. DEFAULT, and a description.
Select your region and region configuration, the list should be limited to match your Gateway.
Click the 'Submit' button to save profile.
Add Gateway
Under the 'Tenant' menu click on 'Gateways'.
One the right hand side of screen click the 'Add gateway' button.
Give your gateway a name, e.g. QTRACA, and a description.
Go to your gateway and select the LoRaWAN --> LoRaWAN Semtech UDP option.
Copy the Gateway EUI to the clipboard.
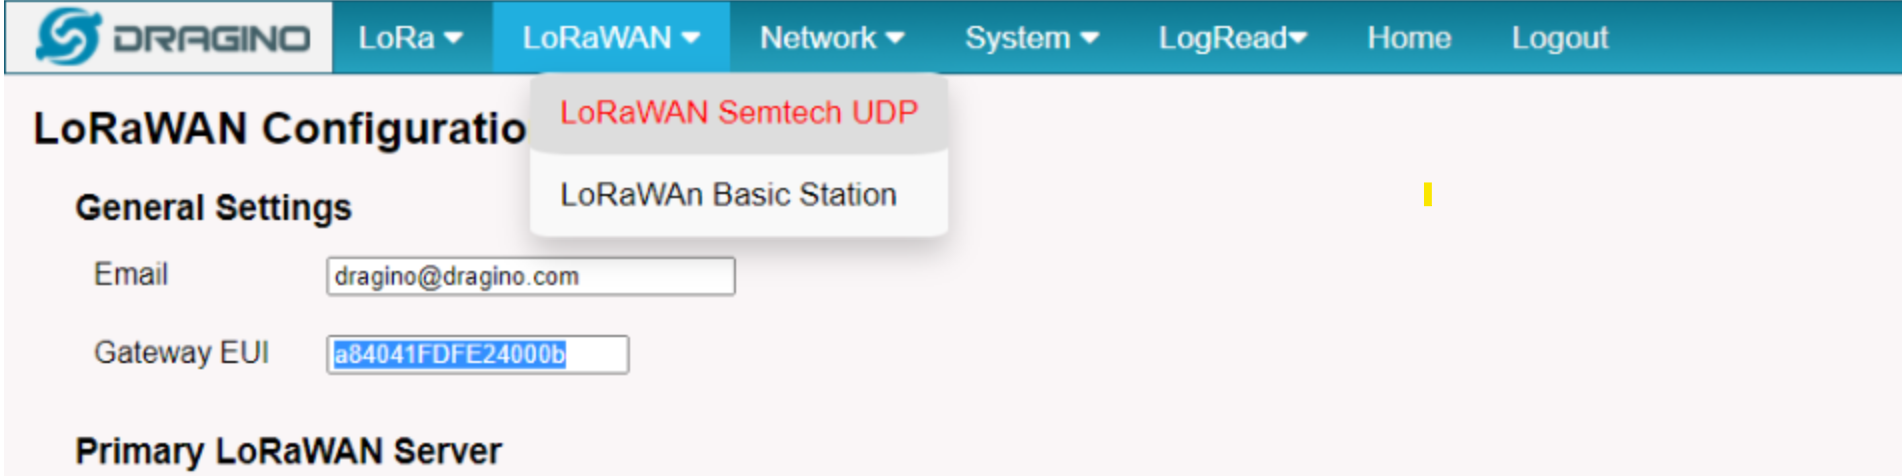
Paste the Gateway EUI into the Gateway ID (EUI64) field.
Press the 'Submit' button to save gateway.
Add Application
Under the 'Tenant' menu click on 'Applications'.
One the right hand side of screen click the 'Add application' button.
Give your application a name, e.g. QTRACA, and a description.
Click the 'Submit' button to save application.
Add Integration to Application
Select the application by clicking on the name from the application list.
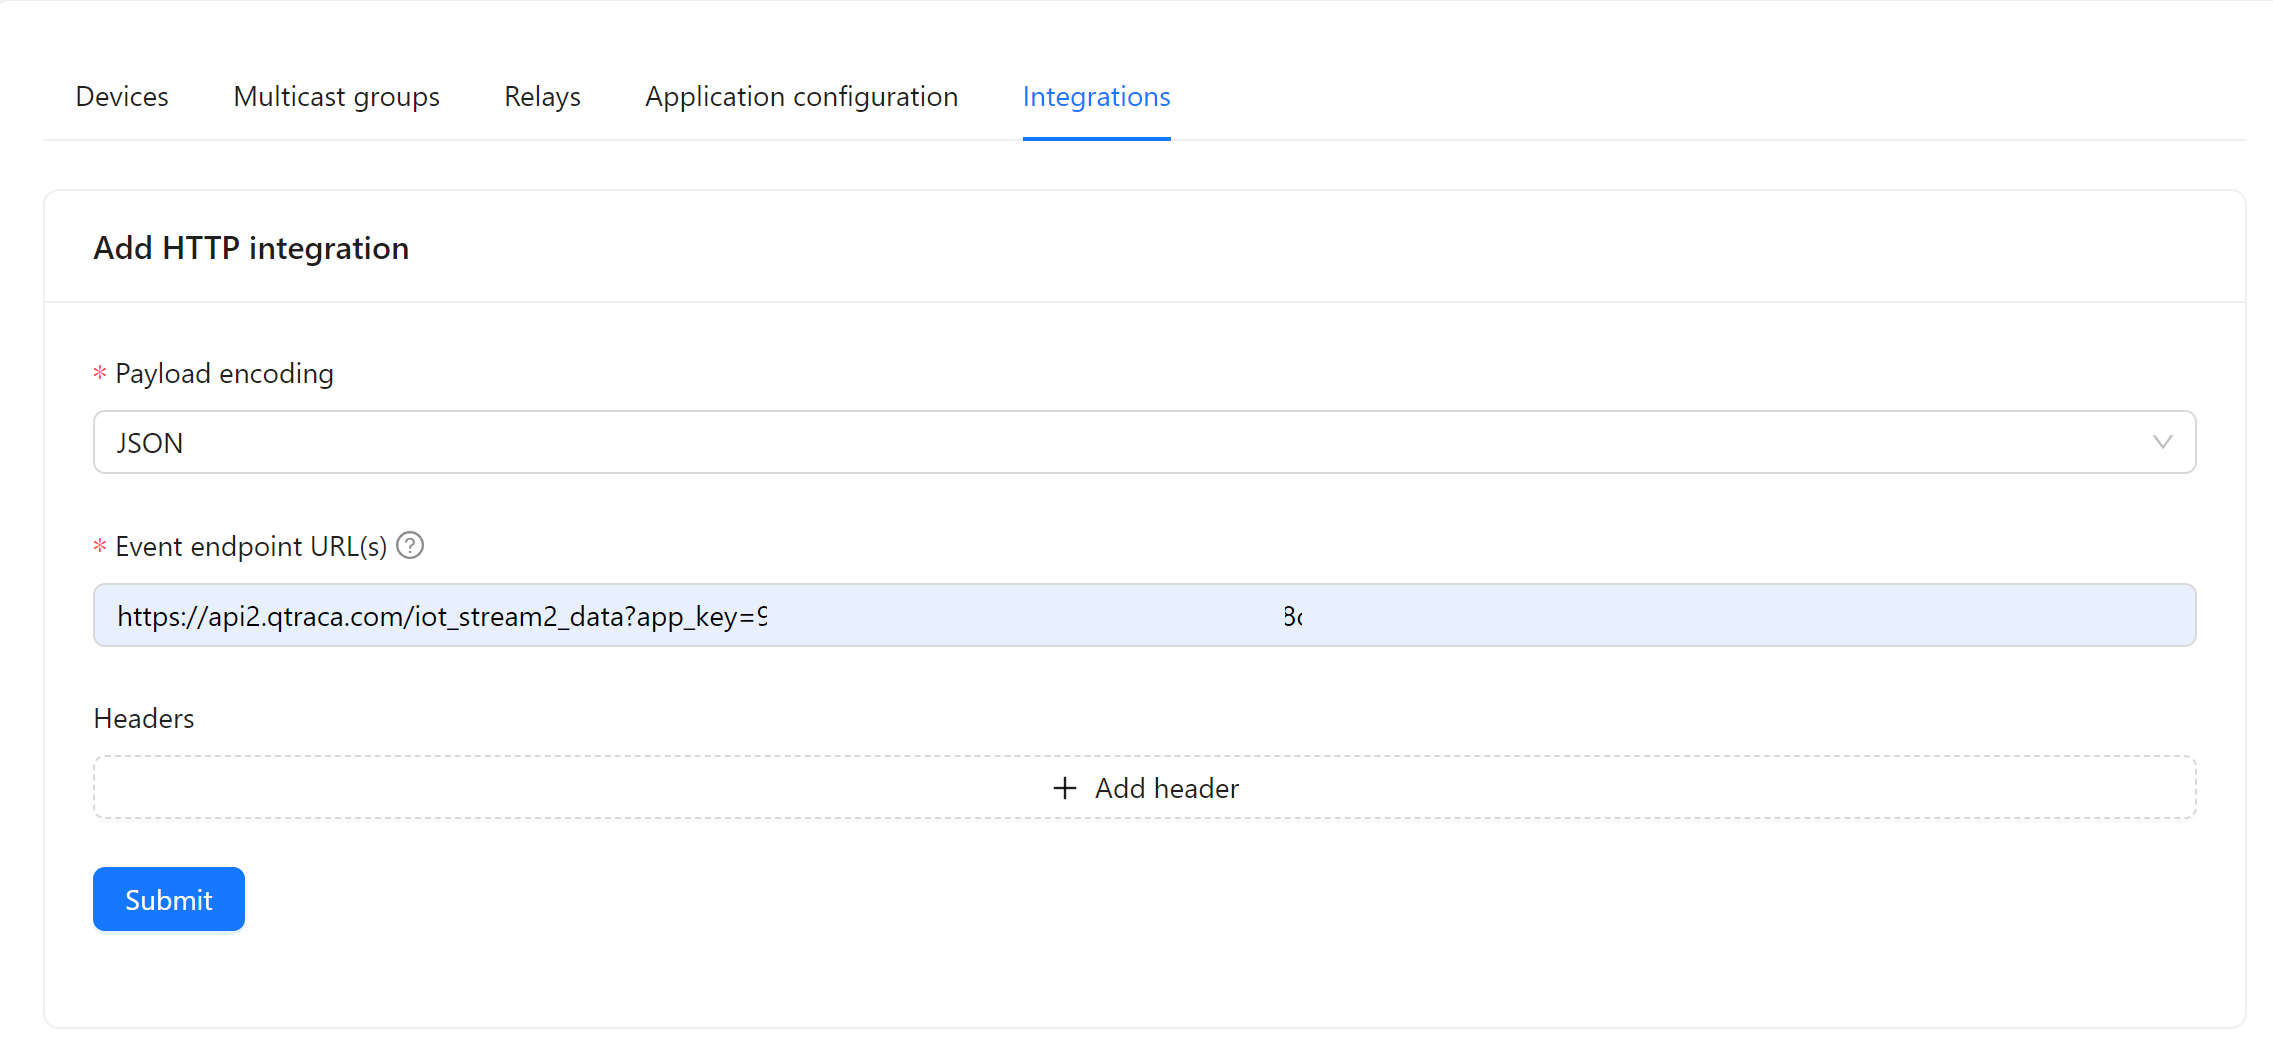
Once in the application go to the 'Integrations' tab and click on the 'HTTP' integration.
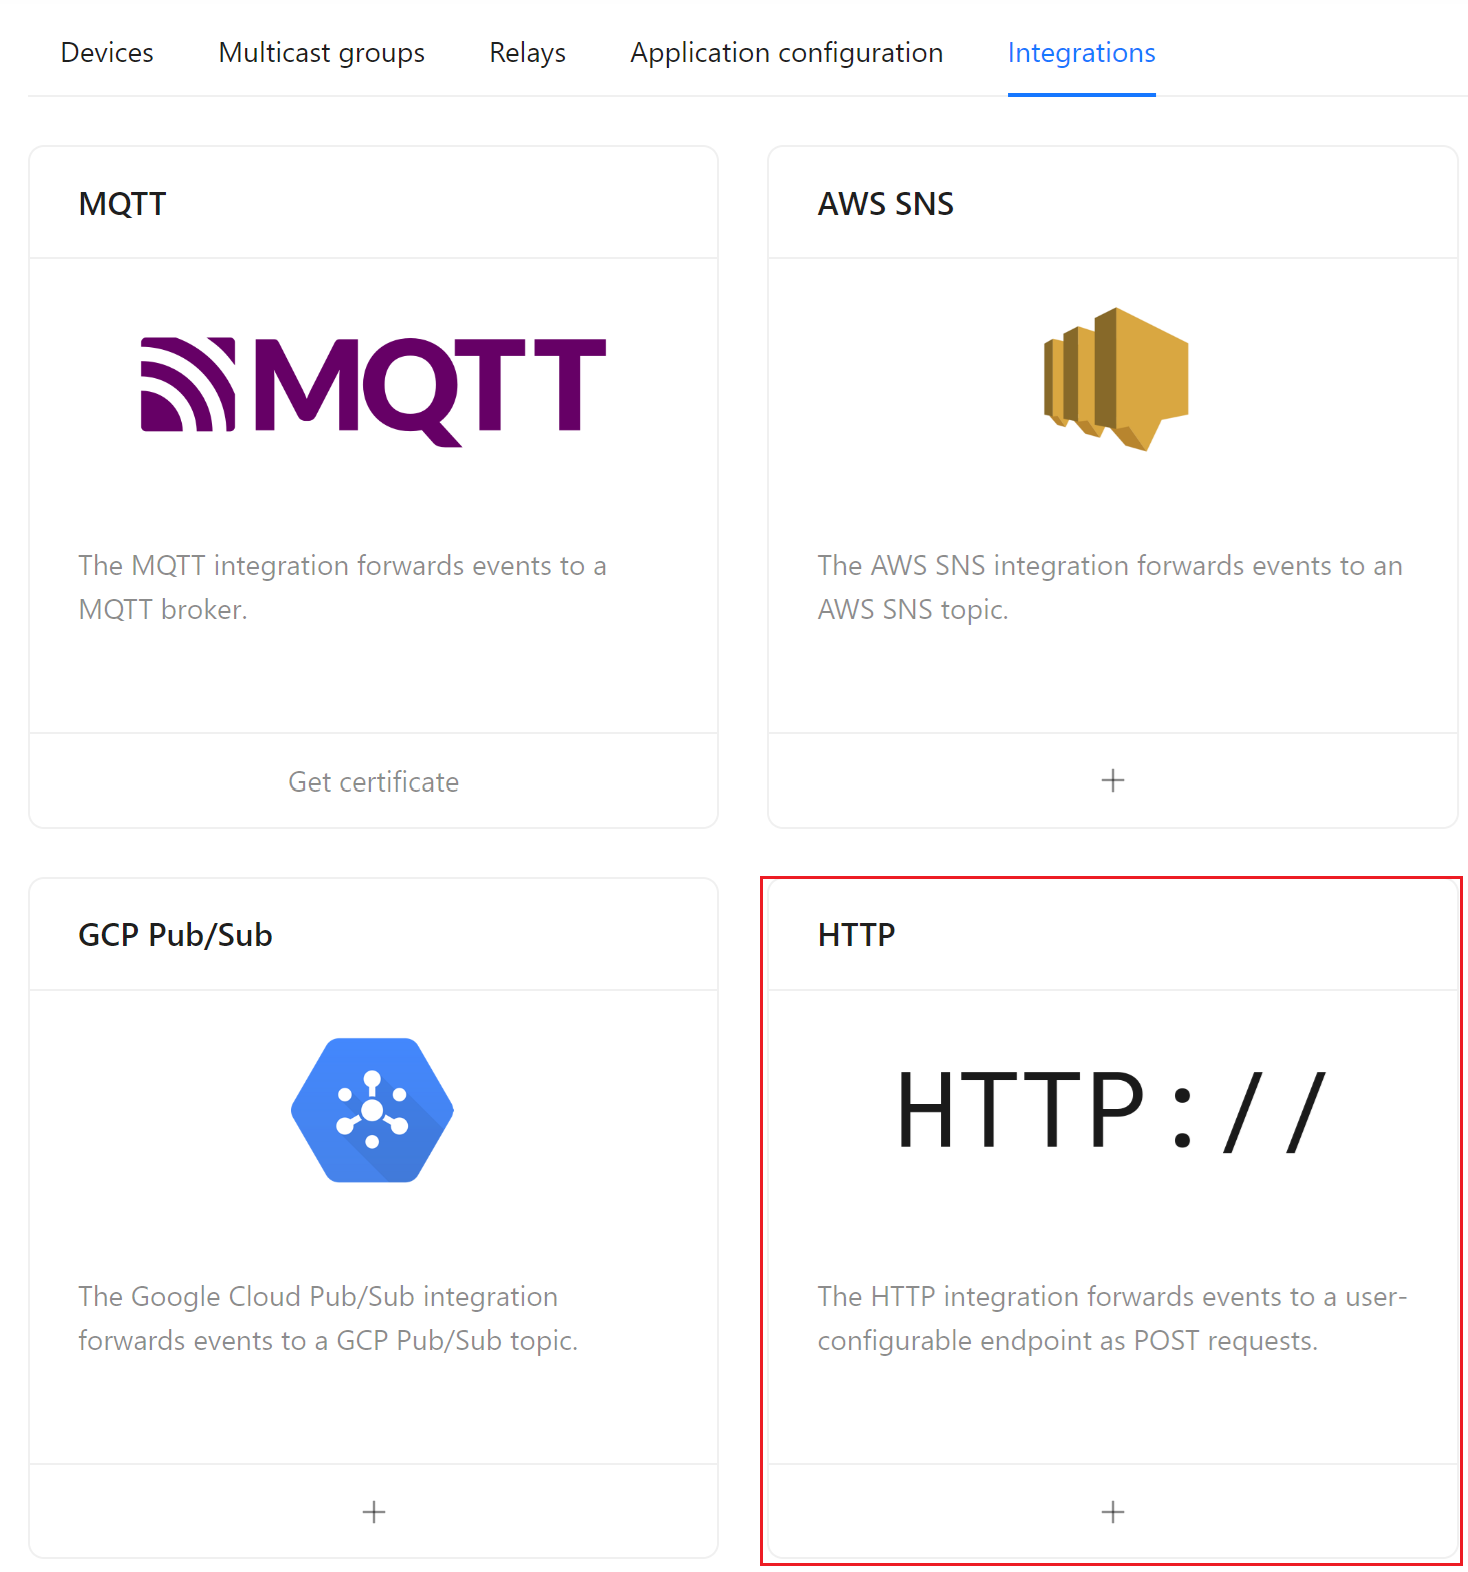
In the HTTP integration enter the following details:
Enter the Payload encoding as JSON.
Enter the Event endpoint URL from the one of the IoT Devices setup in QTRACA by copying the Gateway URL field.
Click 'Submit' to save the integration.