
Prior to connecting to Quickbooks you should perform the necessary setup detailed here Setting Up QTRACA to Work With Quickbooks
You can connect to Quickbooks by performing the following steps:
- Go to Setup --> Integrations
- Click on 'New Integration'
- On the Quickbooks integration click 'Connect'
- Enter the company you wish to give QTRACA access to. (Go to Quickbooks and press CTRL + ALT + ? and then copy the company id.
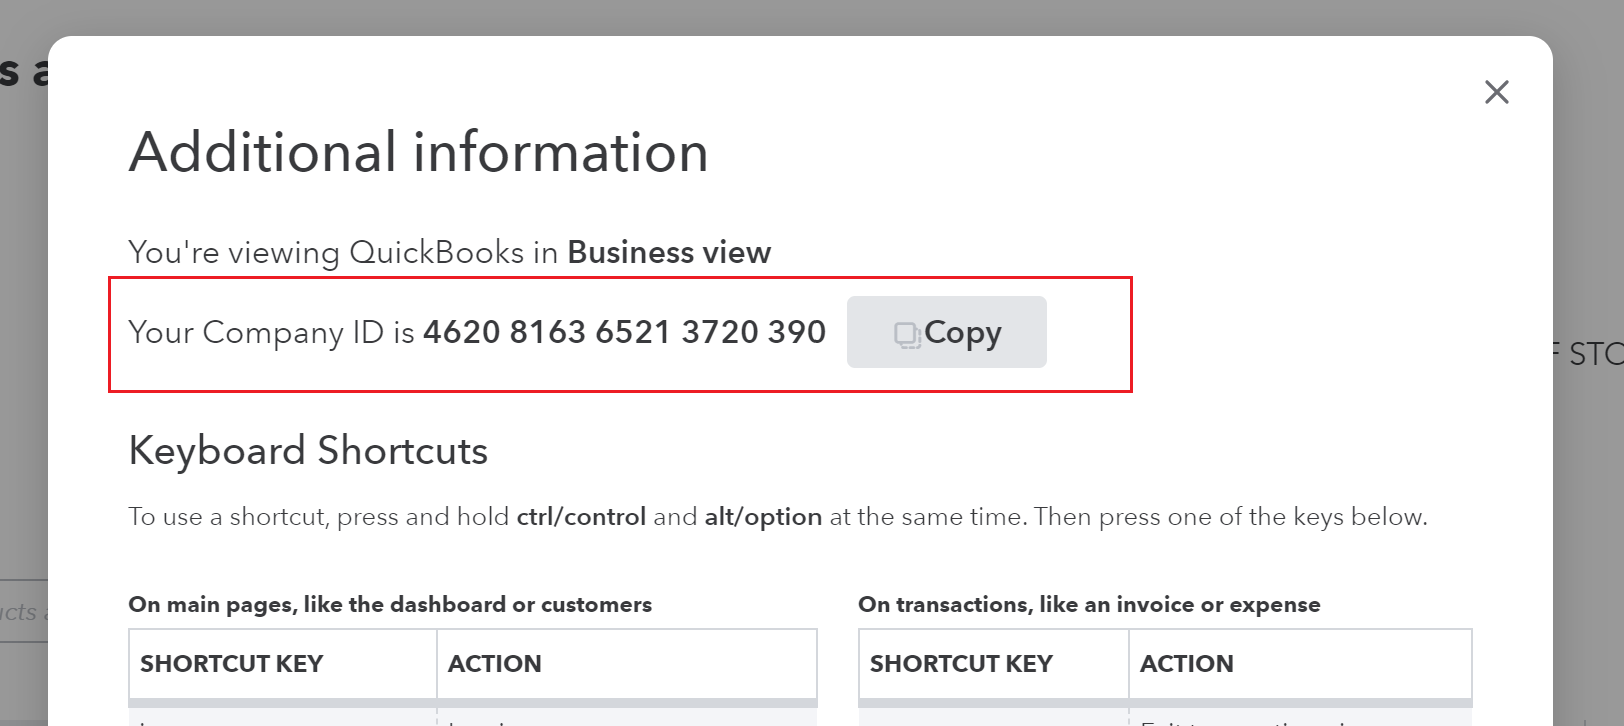
- After entering the company id click 'Connect'.
- You will now be taken to the Quickbooks website. Enter your Quickbooks username and password
- Click 'Allow access' to allow QTRACA read only access to your company
- You will now be taken back to QTRACA and a Quickbooks integration record will exist
- Click 'Edit' on the Quickbooks integration
- Select the sync options you wish to have.
- Click 'Save' to save changes.
After performing the above step your Quickbooks integration will run continuously in the background. Quickbooks will be polled every 15 minutes for new changes.
Sync Options
Sync Customers for Dispatches
When switched on, customers will sync with Quickbooks every night.
Sync Suppliers for Inwards Goods
When switched on, suppliers will sync with Quickbooks every night.
Sync Sales Invoices for Dispatches
When switched on, sales invoices in Quickbooks will be created/updated every 15 minutes from new sales in Quickbooks.
A manual sync can also be done from any date. Performing a manual sync will create all invoices from the selected date in QTRACA as dispatches.
Sync Purchases for Inwards Goods
When switched on, inwards goods in Quickbooks will be created/updated every 15 minutes from new purchases in Quickbooks.
A manual sync can also be done from any date. Performing a manual sync will create all purchases from the selected date in QTRACA as inwards goods.