To create or modify a dashboard a user must be an admin or have the 'Setup Admin' role assigned. All users can view a dashboard.
Dashboards are site specific, and are therefore setup for each site. It should be noted that some components pull data from across all sites.
To setup a dashboard perform the following steps:
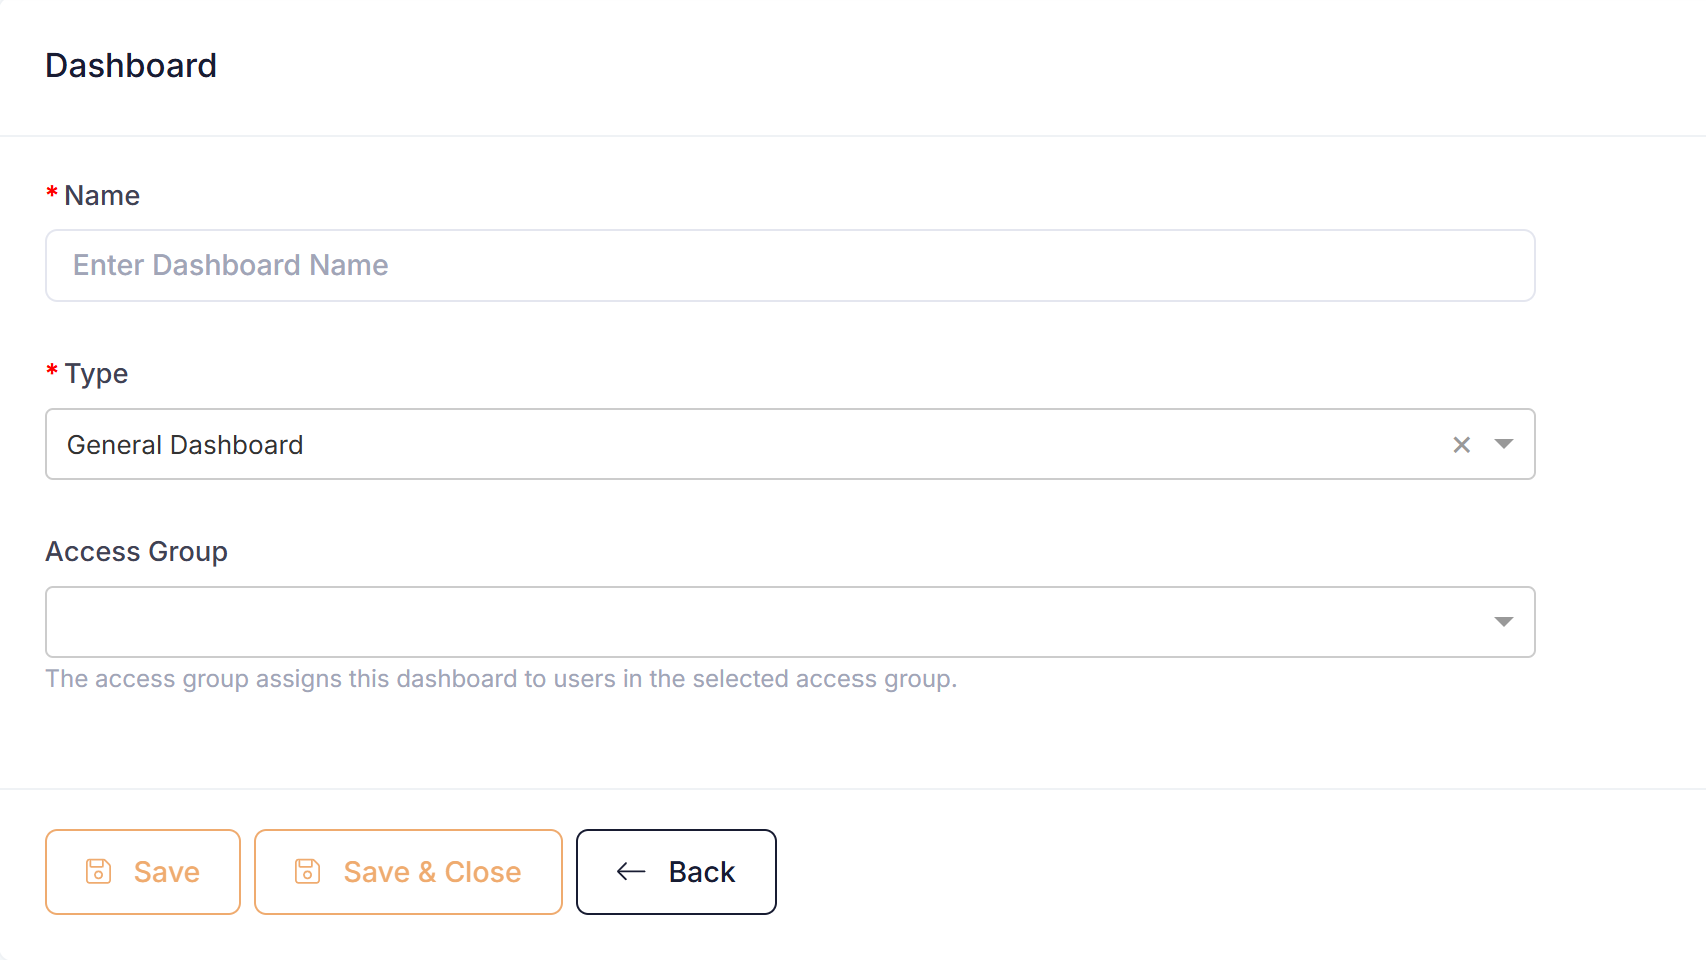
- Go to Setup ---> Dashboard Setup
- Click the button 'New Dashboard'
- Enter a name for the dashboard
- Select dashboard type
- General Dashboard
- IoT Dashboard
- If you which to make dashboard visible to a certain group of users only specify an access group.
- Save Dashboard.
Design Dashboard
Once the dashboard has been saved click on the 'Design Dashboard' button to begin designing dashboard.
Add components to your dashboard by clicking on the 'Add Component' button.
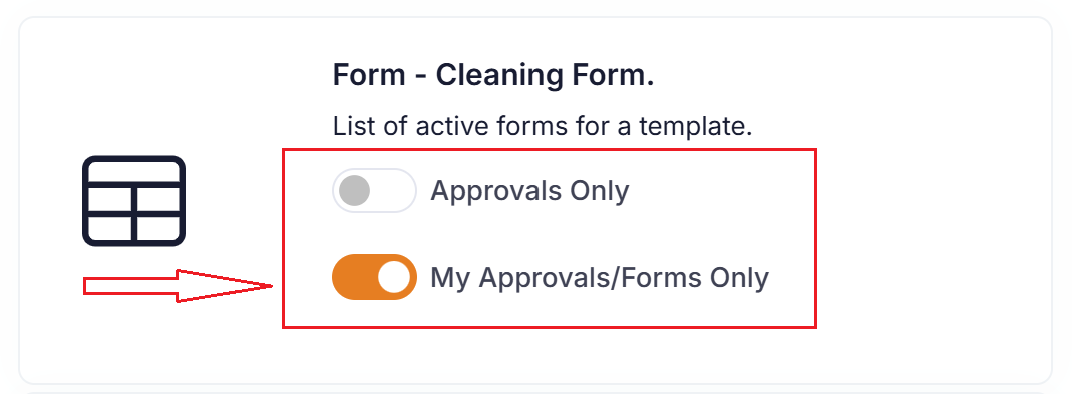
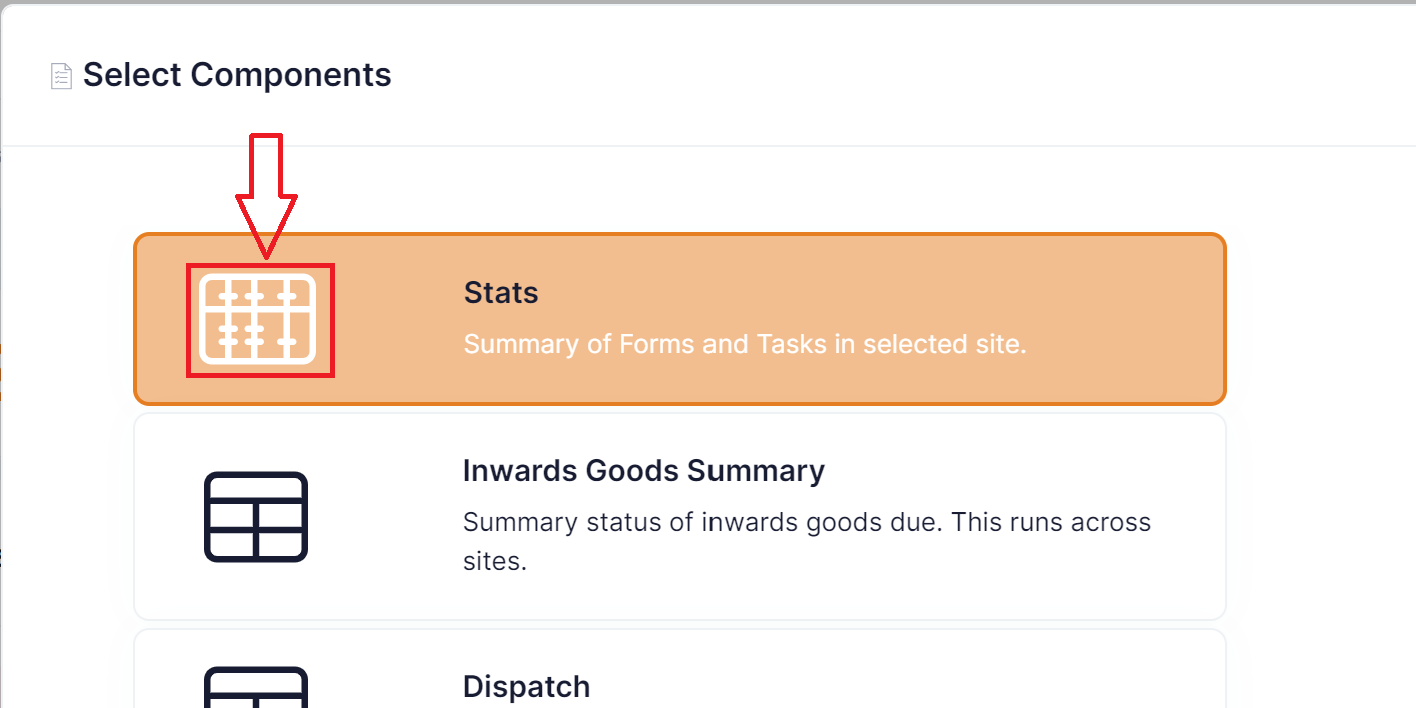
Click on the icon on the left to select a component for display. If the the component has options available then they can be specified here.
If the component is displayed orange then it is selected on the dashboard. Click the icon on the left to dis-select the component.
Once you have finished designing the dashboard click 'Save' to save the dashboard.
Component Options
When selected some components have options which can be set. These will be displayed if available and should be configured as required.